After issuance, you will receive the certificate by e-mail. You can also download the certificate from the Control Panel. The certificate file has the same name as the domain name it was requested for, for example, www_sslcertificaten_nl.crt, Please note that placing a domain under an admin account can lead to problems in DirectAdmin. If possible, use a reseller or user account. For an SSL certificate you either need an owned IP address, for this the IP address must be assigned to the user where the certificate is installed, or it is necessary to enable SNI (Server Name Indication).
Installation certificate
- Log in to the DirectAdmin control panel.
- Go to Advanced Features → SSL Certificates.
- Select the bottom radio button in the left column, at Paste a pre-generated certificate and key. This will soon use your own certificate, instead of the untrusted standard certificate. The Private Key is already filled in in the field Paste a pre-generated certificate and key.
- Copy the sent certificate, including the start and end lines and all the dashes, and paste it under the private key, so that there are no empty lines in between. Then click Save.
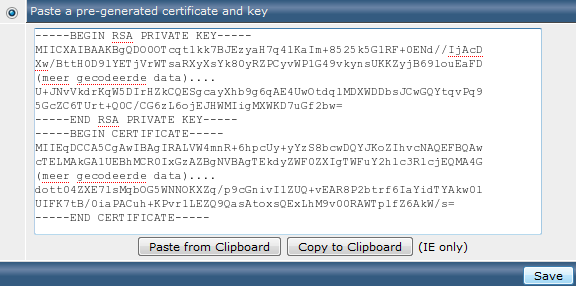
- The Certificate and Key Saved message appears. The certificate has been installed. Now install the intermediate certificates as well.
Installation of root and intermediate certificates
For the certificates we provide, the root and intermediate certificates must also be installed. These are usually sent with the certificate, but they can also be downloaded from the control panel. To install the root and intermediate certificates under DirectAdmin:
- Login to the DirectAdmin control panel.
- Go to Advanced Features → SSL Certificates.
- At the very bottom of the page, click Click Here next to Click here to paste a CA Root Certificate.
- Check the box next to Use a CA Cert.
- Copy and paste the root certificate first, then the first intermediate certificate and below that the second intermediate certificate (if any). Make sure there are no empty lines in between. It should look something like this:
—–BEGIN CERTIFICATE—–
<Encrypted data root certificate>
—–END CERTIFICATE—–
—–BEGIN CERTIFICATE
<—–Encrypted Data Intermediate Certificate>
—–END CERTIFICATE
—–—–BEGIN CERTIFICATE
<—–Encrypted Data Second Intermediate Certificate, if any>
—–END CERTIFICATE—– - Click Save.
Enable SSL
Within DirectAdmin, SSL is not enabled by default; Even after installing a certificate, it may need to be enabled manually. After installing your certificate, make sure that SSL is enabled and turn it on if necessary. Enabling SSL is described below.
- Log in to the DirectAdmin control panel.
- Go to Advanced Features → SSL Certificates.
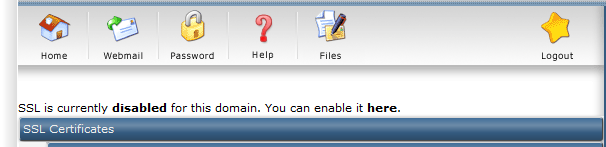
- At the top of the page, you can check if SSL is already enabled and you will be given the option to enable it if necessary. Check the current setting, if SSL is Disabled, then click here in the sentence You can enable it here.
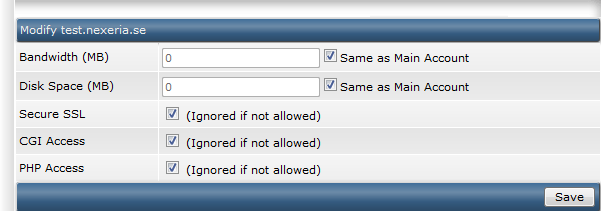
- Next, check Secure SSL and click the Save button.
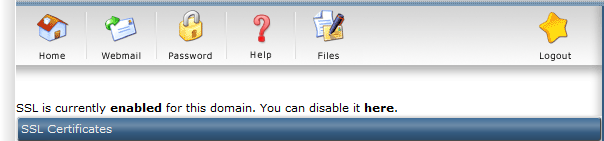
- Next, go to Advanced Features → SSL Certificates again. SSL is now enabled.
In addition, a separate folder may be used for https. This can be checked via the main screen by going to the Domain Setup item, and choosing the domain in question.
In the item for setting the private_html folder, the symlink must be indicated here. Please note that this will also remove the physical private_html, which may contain any data that may be present.

All steps for the installation of the certificate have been completed. Make sure that the certificate files are properly secured, and keep a backup of the private key and certificate in a safe place. Also, install the root and intermediate certificates. Check with the SSLCheck if the certificate is installed correctly and ensure an optimal configuration of the SSL certificate with these tips and settings.
